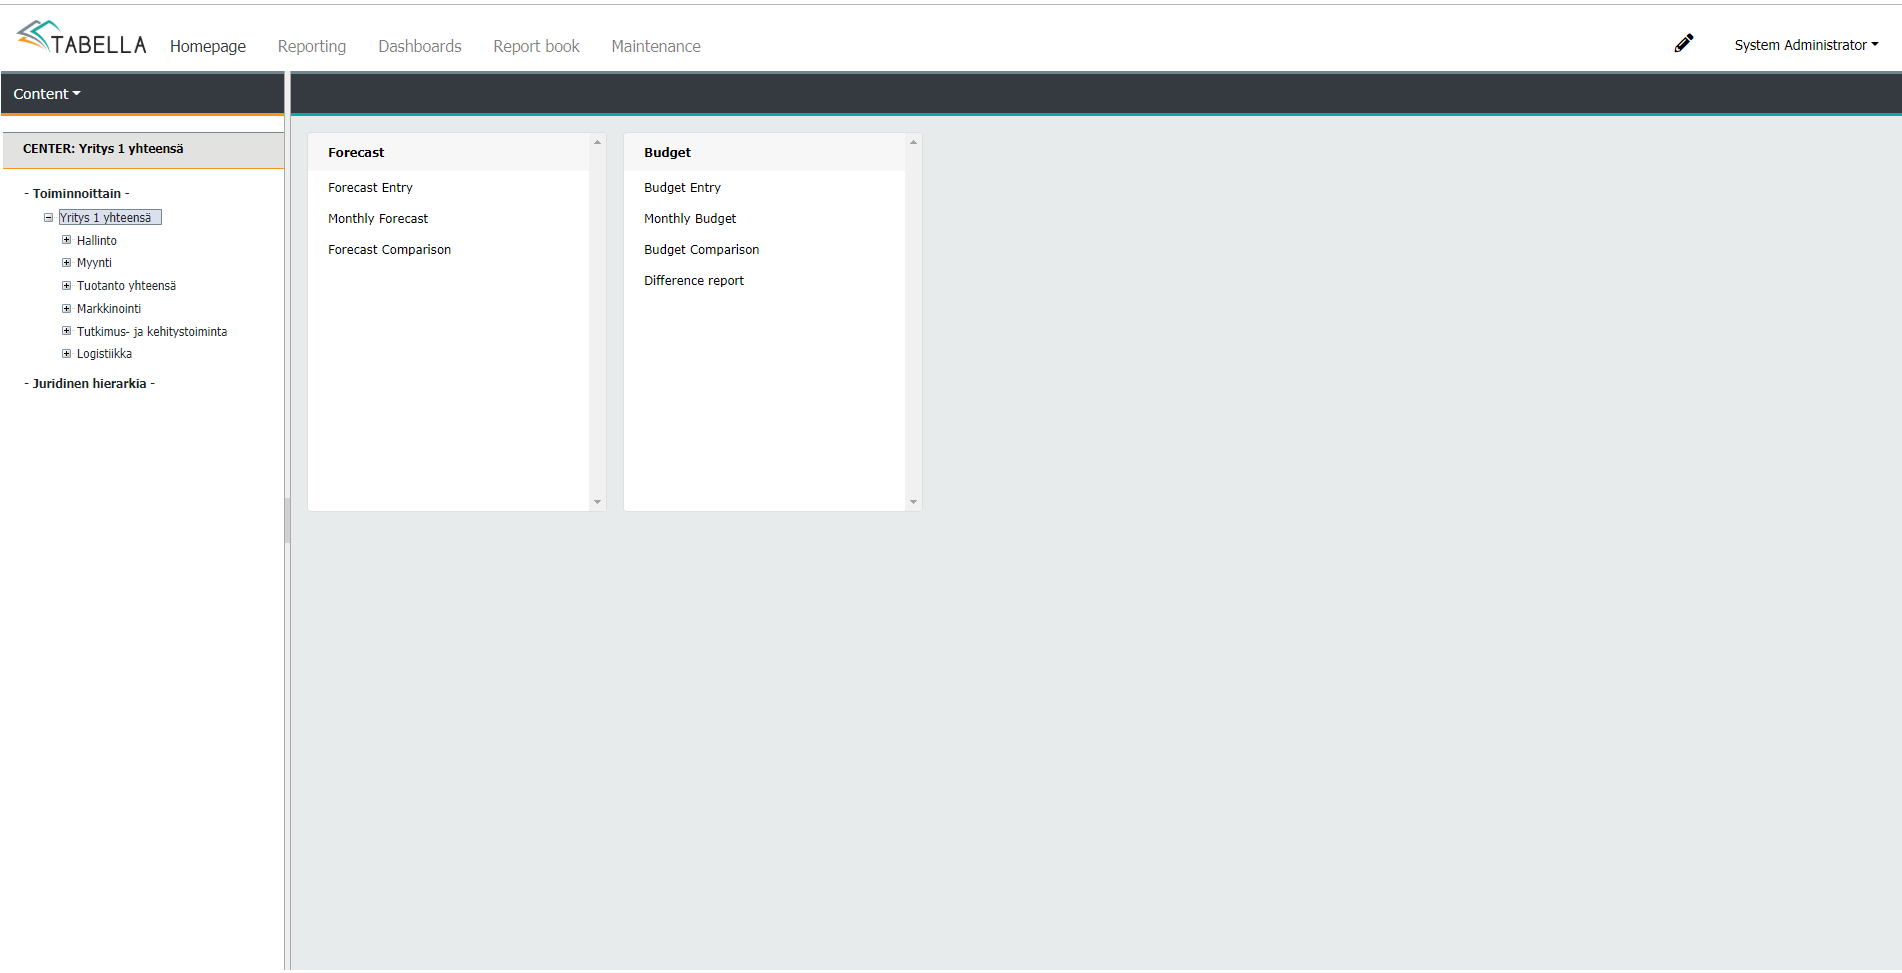
Homepage area
The Homepage is defined during system installation. From the Homepage the transitions, for example, directly to selected unit’s budget entry can be defined. Additionally, page contains all bookmarks user has made.
Move on between other areas by choosing respective tab: Reporting, Dashboards, Report Book ( if in use) and Maintenance (System Admin only).
The System Admin defines content to the Homepage; groups and buttons. Each Button contains link to the specified report.
Note
The button follows user rights. If a user, does not have rights to the row model linked to the button, for example, then the row model is changed to the first she has rights to.
In case the button is linked to entry, then the row model is changed to the first row model which has entry rights.
If there are no entry rights, the selection is disabled.
If starting point saved to the Homepage is column report, then the Content menu is disabled.
Homepage area modification
Only the System Admin is able to modify homepage’s content. End user is able to modify her own saved bookmarks’ only.
Note
System Admin with limited rights, for example maintenance rights for one company only, can not modify homepage area.
The Homepage is defined when the system is being installed. Homepage is visible for all users.
System Admin adds groups with buttons to the homepage. Each Button contains link to the specified report. Modifications are made from the right-click menu.
Add group / button
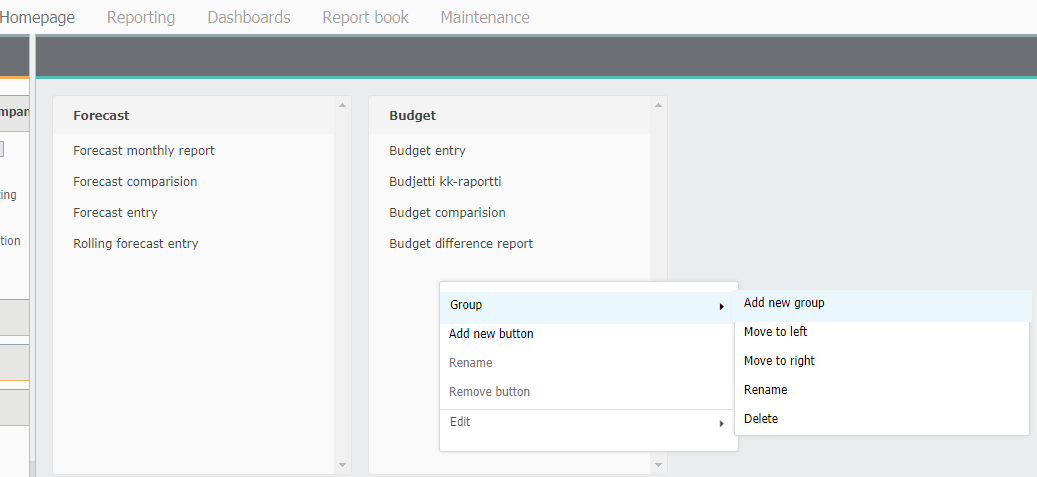
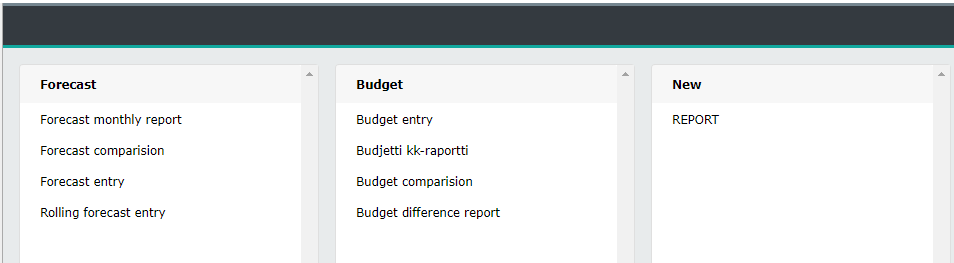
To add a new group, right click inside existing group. Choose Group | Add new group. Group “New” with “Report” -button is added to the Homepage.
Change the name
To change button’s name, right click the button. Choose Rename
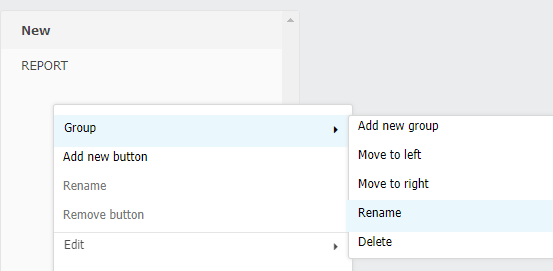
To change group’s name, right click inside the group, Choose Group | Rename.
Add button to group
To add a button to the new group (or existing one), right click inside the group. Choose Add new button. Button “Report” is added to the group. Next, define button’s content.
Edit button
Specify report’s details -report which is opened, when the button is pressed.
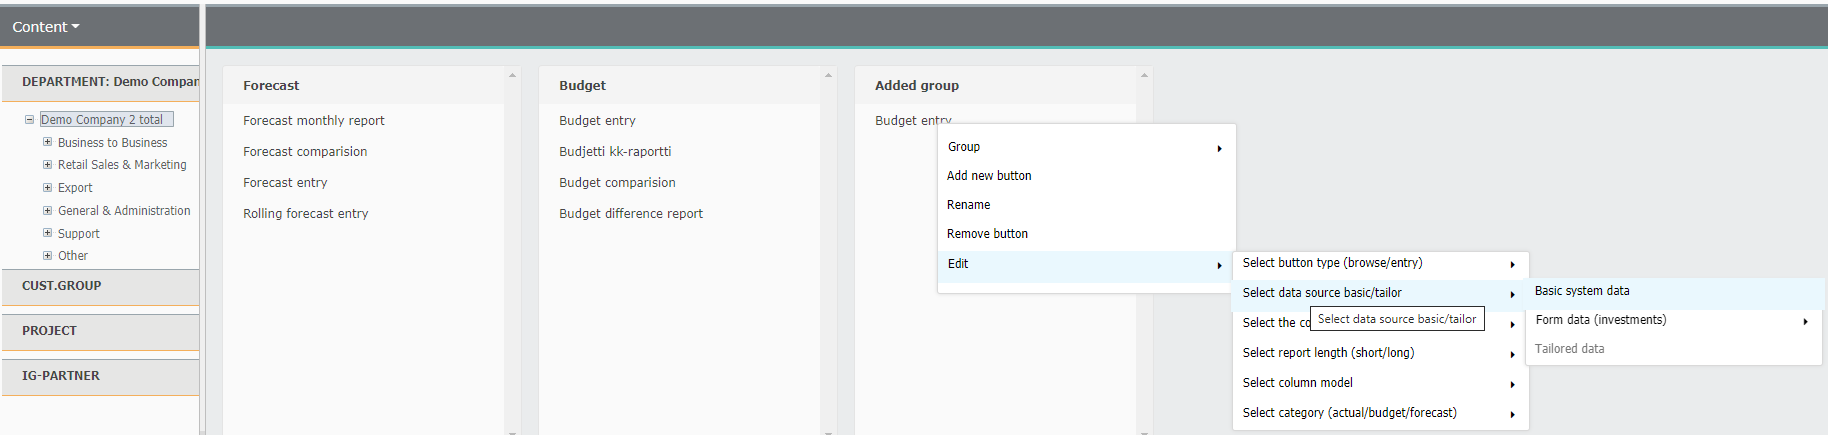
Right click the button. Choose Edit. Do the selections for each needed part, one by one.
Select:
Button’s type -entry or browsing (default)
Data source -in addition to basic data it possible to select form data as source. Tabella form is value-added feature, thus not in use, in every installation.
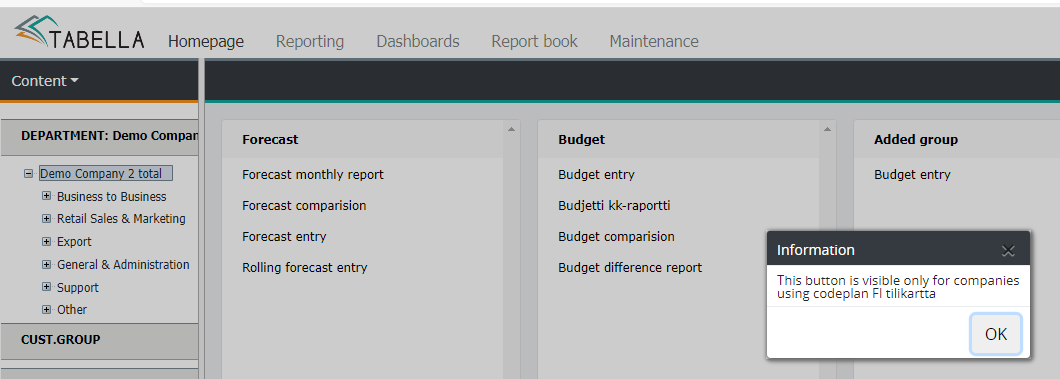
Chart of accounts / Row model -if several chart of accounts are in use, choose desired chart of accounts and row model. Please notice, that the button remains visible in the Homepage, if the currently selected tree strucure uses the same chart of accounts. If not, then a message will appear, telling that the button has been saved to Homepage of the tree structure, which uses selected chart of accounts. Change the content of the tree structure.
Report lenght (short/long) -choose the report format
Note
Button meant for entry, follows current System Admin settings: Start the entry in short or long format
Column models -choose either analysis or monthly report column model
Note
Please notice, entry button for monthly report column model, for example by quarters, still opens monthly columns in entry.
If analysis column model is chosen for entry, then the category selection contains periods which are open for entry, in the selected column model.
Select category -choose the time period.
Note
The category selection is not needed for the analysis column model, if the chosen button type is browsing.
Other functions
Remove button -right click the button. Choose Remove button.
If the group, which contains buttons, is deleted; Group | Delete, the buttons are not deleted at the same time, but moved to the existing group. Buttons have to be removed one by one
Use mouse to drag and change button’s place inside the group, or move it to other group.
Note
If a user does not have rights to the row model linked to button, then it is changed to the first model she has rights to, automatically. This also the case, if the button is linked to entry.
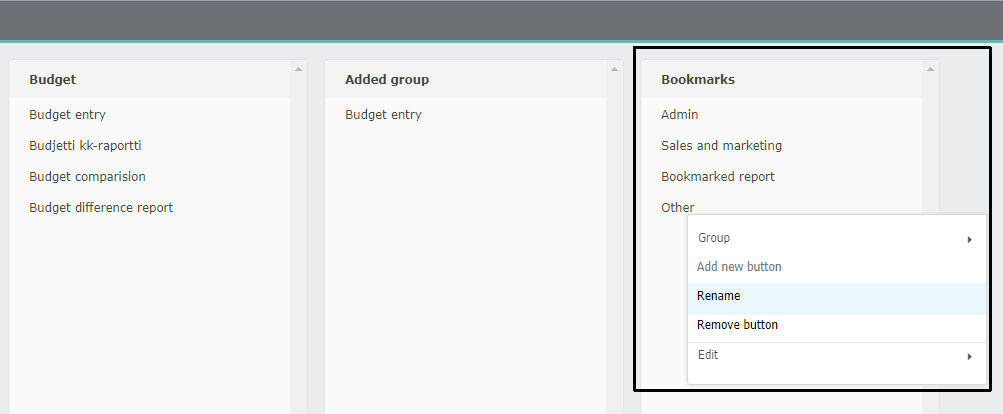
Kirjanmerkit
Bookmarks end user has saved in the Reporting area, are placed to the Homepage.
To modify list; e.g. to rename bookmark’s name, or to delete it, use right mouse menu.
Bookmark’s place in the list can be changed by dragging with mouse.
Note
Please notice, that the concept “Starting point” is not in use anymore.